


Best Settings for the VIOFO A119 V3
Set up driving footage, parking recording and the camera’s everyday controls
Start with the right camera and a saved sample
The VIOFO A119 V3 is a single front camera with a built-in screen. It has no Wi-Fi setup or mobile app connection. These recommendations apply to the A119 V3, whose firmware and menus differ from the A119 Mini 2.
Park safely, power the camera and press REC to stop recording before opening MENU. Use the camera’s buttons to select a setting, then leave the menu and resume recording. Make one change at a time and play a saved sample on a computer.
The A119 V3’s recording features include HDR on supported firmware and three parking modes. They cannot guarantee a readable plate or a recording of every incident. Check your view through the windshield, camera angle and actual saved footage.

Choose a practical recording setup
For the A119 V3, we suggest starting at 2560 × 1440P and 30 FPS. It gives you a useful baseline for comparing changes without filling the screen with options you may never use.
Available resolutions depend on the installed firmware. VIOFO’s published mode lists differ, so choose 60 FPS only if that option appears in your camera’s menu. HDR limits recording to 30 FPS. Compare day and night clips before deciding which combination suits your route.

Video settings for everyday driving
| Setting | Our starting point and what to check |
|---|---|
| Resolution | Start at 2560 × 1440P, 30 FPS. Check the actual menu before selecting another mode; a higher number alone does not guarantee clearer moving detail. |
| Bitrate | Start at Medium. High uses more card space and may retain more detail in complex scenes. Compare the saved files before trading recording time for a higher setting. |
| Loop Recording | Choose 3 minutes for manageable clip lengths. Loop recording overwrites older ordinary files when space runs short. Copy important files off the card promptly. |
| Video Format | TS is the original guide’s starting choice for resilience to interrupted recording. MP4 may suit your playback software better. Neither format prevents every corrupted file or card failure; test the player you use. |
| Exposure | Start at EV 0. Adjust in small steps if your own clips look too bright or dark. Brightening a dark scene can also wash out bright detail. |
| WDR / HDR | On current supported firmware, use the HDR control rather than looking for the older WDR name. Try HDR for scenes with strong light contrast and compare saved night footage. It runs at 30 FPS and does not guarantee plate capture. |
Choose one parking recording pattern
The A119 V3 offers Auto Event Detection, Time Lapse and Low Bitrate Recording. Parking recording needs a suitable continuous supply and a way to enter parking mode. VIOFO identifies the HK3 as its compatible hardwire kit; follow the exact kit and vehicle instructions, or use an installer.
Auto Event Detection responds to activity. VIOFO’s buffered-parking support table lists a 15-second prebuffer and a 45-second locked clip for the A119 V3. These figures describe that model-specific buffered event behavior; older menu descriptions also discuss motion recording lasting about a minute.
Time Lapse captures fewer frames and omits audio. Low Bitrate records continuously with smaller files and can record audio when enabled. The A119 V3 has one camera channel, so a front-and-rear bitrate figure does not apply to it.

Test the parking setup where you normally leave the car
A busy garage may generate many motion events. A quieter driveway may suit a different sensitivity. Start with Medium parking motion sensitivity, leave the car briefly, then check which events the camera saved.
Confirm that the camera actually enters parking mode when you switch the vehicle off and returns to normal recording when you drive. A recording-duration setting and a hardwire kit’s battery-voltage cutoff perform different jobs. Neither promises a fixed number of parked hours.

Parking and motion controls
| Setting | Our starting point and what to check |
|---|---|
| Enter Parking Mode Timer | This controls the delay before parking recording begins. Choose the delay shown in your camera’s menu for your installation, then test entry with the actual power connection. |
| Parking Recording Timer | Choose how long the camera should remain in parking recording. A continuous option still depends on available power and the hardwire kit’s cutoff. Follow the label and options on your installed firmware. |
| Parking G-sensor | Start at High, as VIOFO recommends for parking. Adjust if ordinary vibration causes unwanted events; sensitivity cannot ensure detection of every impact. |
| Parking Motion Detection | Start at Medium. Increase or reduce it after reviewing parked clips. Sensitivity changes the trigger response, not the lens angle or a guaranteed detection distance. |
| Time-lapse Recording and Motion Detection | Leave these ordinary recording controls Off for continuous driving footage. They are separate from choosing a parking mode. The V3 manual says ordinary Motion Detection stops recording after 60 seconds without new movement and resumes when movement returns. |
Keep GPS information and visible stamps under your control
The GPS mount and a usable satellite signal are needed for GPS functions. Turn GPS on if you want the camera to record position and speed and use GPS time calibration. It does not provide a live vehicle-tracking service.
The GPS Info Stamp controls information printed on the video. Treat visible overlays and GPS recording as separate choices. Check your saved sample in compatible desktop software before assuming a map or speed display is available.
Use MPH for US driving or choose km/h when that is the useful unit for your trip. Check the clock and time-zone offset too; a correct-looking picture can still have an incorrect timestamp.

GPS, impact sensitivity and video stamps
| Setting | Our starting point and what to check |
|---|---|
| GPS | On if you use a GPS mount and want its position, speed and clock functions. Confirm reception outdoors. |
| Speed Unit | MPH is our US starting point. Choose KPH/km/h if appropriate for your location. |
| G-sensor | Low for normal driving, as the V3 manual recommends. Locked event files need an external backup too. |
| Date Stamp | On if you want the time and date visible in footage. Set and verify the clock first. |
| GPS Info Stamp | Your preference. Decide whether GPS information should appear visibly on the video. |
| Camera Model Stamp | Your preference. It adds the camera model to the video. |
Use the screen without leaving it on while you drive
A one-minute Screen Saver is a useful starting point. It switches the display off while recording can continue. Check the recording indicator and play a saved file to confirm that your camera is working.
Record Audio follows your privacy preference. The MIC button can mute or restore the microphone while recording. The A119 V3 uses physical buttons and beeps; this guide does not depend on voice commands.

Everyday camera controls
| Setting | Our starting point and what to check |
|---|---|
| Record Audio | Choose On or Off for your situation, and check the microphone indicator. Consider the people whose conversation you may record. |
| Screen Saver | Start at 1 minute. It blanks the display rather than shutting the camera down. |
| Boot Delay | Off is a starting point. The V3 manual lists Off, 5 seconds and 10 seconds. A delay changes startup timing; it does not repair an unsuitable power supply. |
| LED | On gives you visible status feedback. Verify saved footage as well as the light. |
| Date / Time | Set the correct date and time, then check a recorded sample. |
| Time Zone | Choose the appropriate GPS time offset and adjust it manually for daylight saving time when needed. |
| Language | Choose the display language you read most easily. |
| Beep Sound | On makes notification sounds audible. Turn it off only if you prefer that tradeoff. |
| Frequency | 60 Hz is the usual US and Canadian starting point. Compare footage under the lighting you use if flicker remains. |
| Image Rotation | Off for a normal upright installation. Change it only when the installed camera needs the image turned over. |
| Car Number | Optional identifying text, such as your own plate. The manual describes an 11-digit field; avoid information you do not want printed on every clip. |
| Custom Text Stamp | Optional text printed on the recorded video. Keep it short enough to leave useful scene detail visible. |
Check the installed camera before relying on it
Keep the lens clean and the view clear of trim and the mirror. Check the mounting angle using the screen while parked, then confirm the horizon and road view in a saved file.
After changing parking or power settings, make a short drive-and-park test. Confirm normal recording, the parked transition and the return to driving mode. Recheck these after a firmware update or factory reset.
Save your recordings before card maintenance
Formatting deletes the card’s contents, including files you locked. Copy important clips to another device and open those copies before formatting. Use the camera’s Format command to prepare its own microSD card.
The older Mac screenshot illustrates an erase operation on a SanDisk USB drive. It is not a current macOS walkthrough or an instruction to select an internal drive. Use the A119 V3’s in-camera process for routine card formatting.
A Format Warning is a reminder. The original guide suggests 30 days; choose a reminder interval you will follow. It does not automatically perform the format or prove the card is healthy.

Check firmware before comparing menu options
Firmware Version shows the version installed on your camera. On October 17, 2026, VIOFO’s firmware page listed A119 V3 V2.6_20241031 with the file name FWA119V3.bin. Use the exact A119 V3 section on the VIOFO firmware page, and follow its current instructions. A119 Mini and Mini 2 files are different.
Back up recordings first, prepare the card as VIOFO directs and keep stable power connected throughout the update. The camera restarts after updating. Confirm the installed version and check your settings again.
Default Setting restores the camera’s factory defaults when you select it. It is a deliberate troubleshooting step, not a reset scheduled after 30 days of inactivity. Re-enter your clock, recording and parking choices afterward.
Match support and accessories to the A119 V3
The A119 V3 can be a useful straightforward recorder when its settings and power connection suit the installation. Judge the result from your own saved clips, including the lighting and parking conditions you regularly face.
Use the full VIOFO A119 V3 model name when choosing a mount, cable or power kit. Browse our current VIOFO range for available options, and ask us to confirm compatibility before ordering an accessory.
For setup help, send us the firmware version, power connection and the setting you are trying to change. A short sample clip or a photo of the menu helps explain what you are seeing.
Get Help With My A119 V3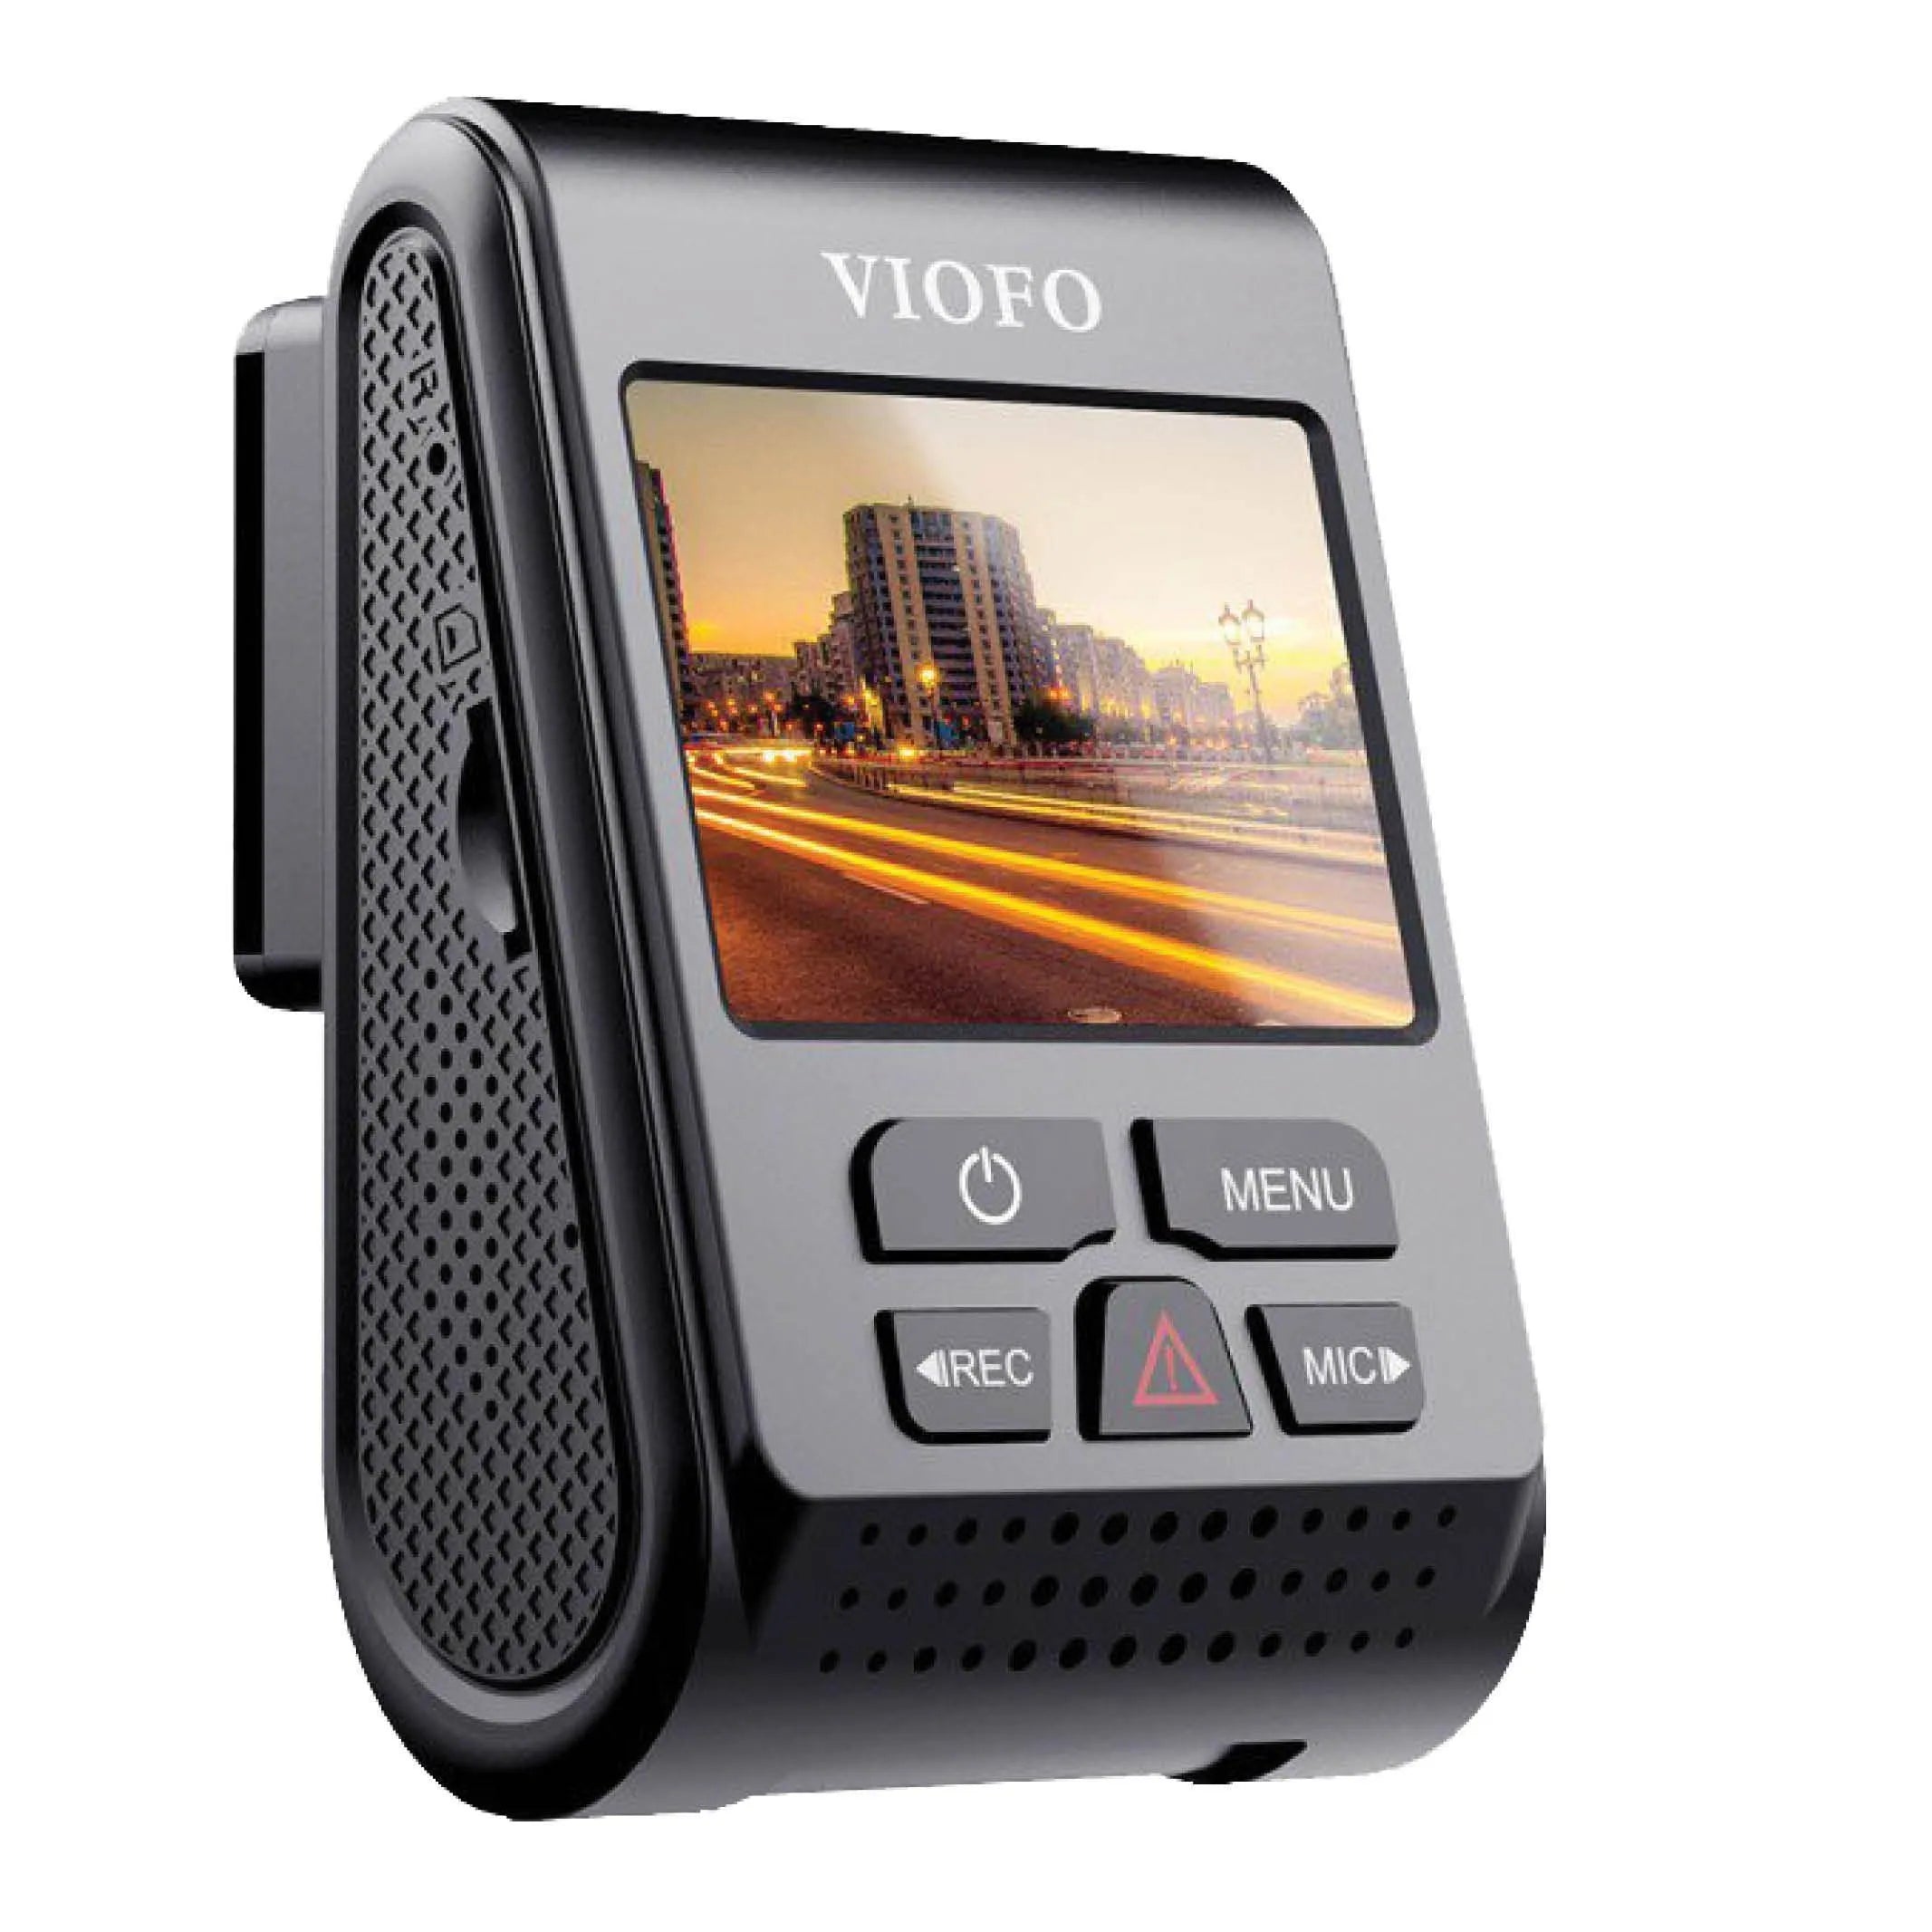
Manual and manufacturer setting references
Use the exact A119 V3 manual and firmware instructions when the camera’s menu differs from an older guide.